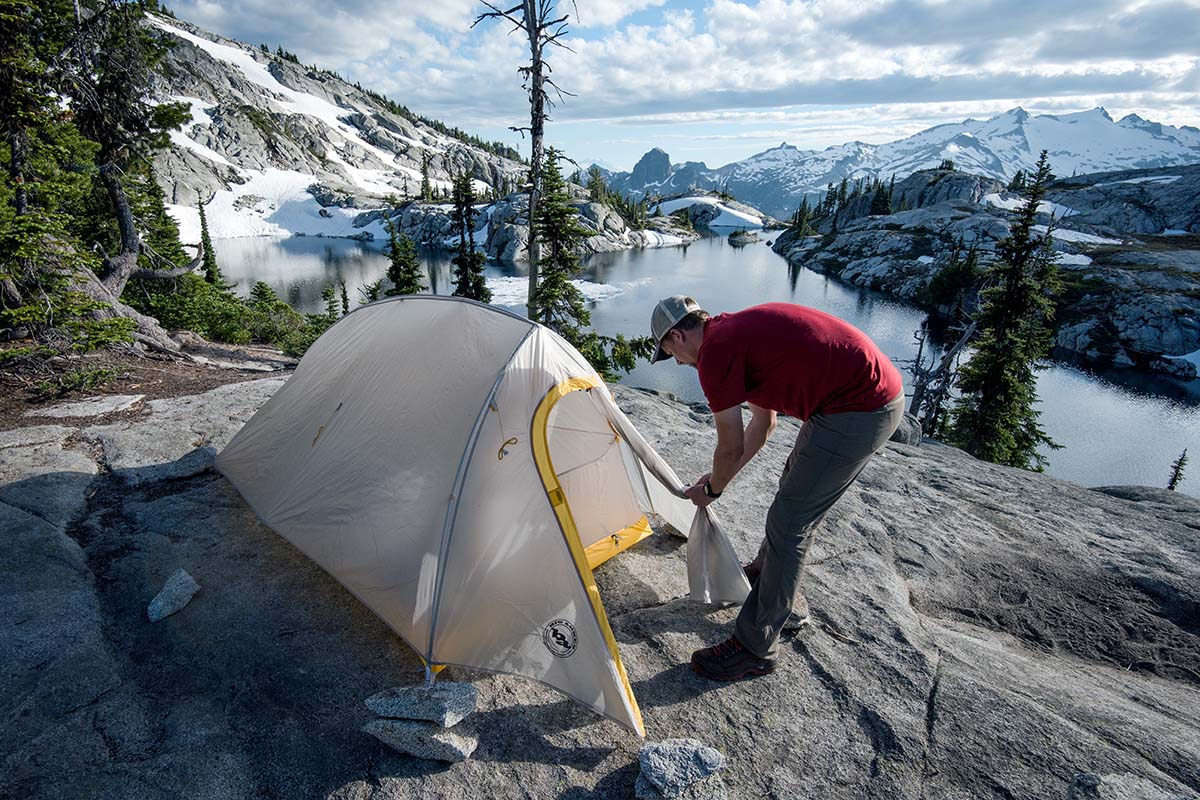
Tents are one of the most exciting pieces of your backpacking kit—it’s your home away from home in the backcountry—but selecting the right one requires a healthy amount of research and thought. Designs in this category vary widely, from budget-oriented models for those just starting out to specialized ultralight models built for serious thru-hiking adventures. Below we cover the process of choosing the right backpacking tent for you, including considerations like seasonality, weight, cost, capacity and livable space, weather protection, durability, and more. For our current favorite designs in each category, check out our articles on the best backpacking tents, best budget backpacking tents, and best ultralight tents.
Editor's note: We updated this article on July 25, 2024, to ensure all information was current at the time of publishing. This involved swapping several product references and expanding on some of our performance considerations.
The first step in choosing your ideal backpacking tent is nailing down when and where you'll be using it. We’ll start by noting that the majority of tents on the market are of the 3-season variety, which is because most backpackers stick to established routes mostly in the summer months. For this group, campsites generally will be good, and long stretches of inclement weather aren’t a huge concern. In these conditions, nearly every 3-season tent on the market—from budget-friendly builds to ultralight models—should be up to the task. If you’ll be heading to the alpine or other areas with high winds and rough weather or plan to get out in the shoulder seasons, you’ll want a more formidable 3-season tent that can keep you safe and dry. Finally, winter explorers and those camping on snow have a whole different set of requirements and should look for a true 4-season tent model. But at the end of the day, 3-season tents are what most people choose and should provide suitable wind and wet-weather protection in most non-winter conditions.
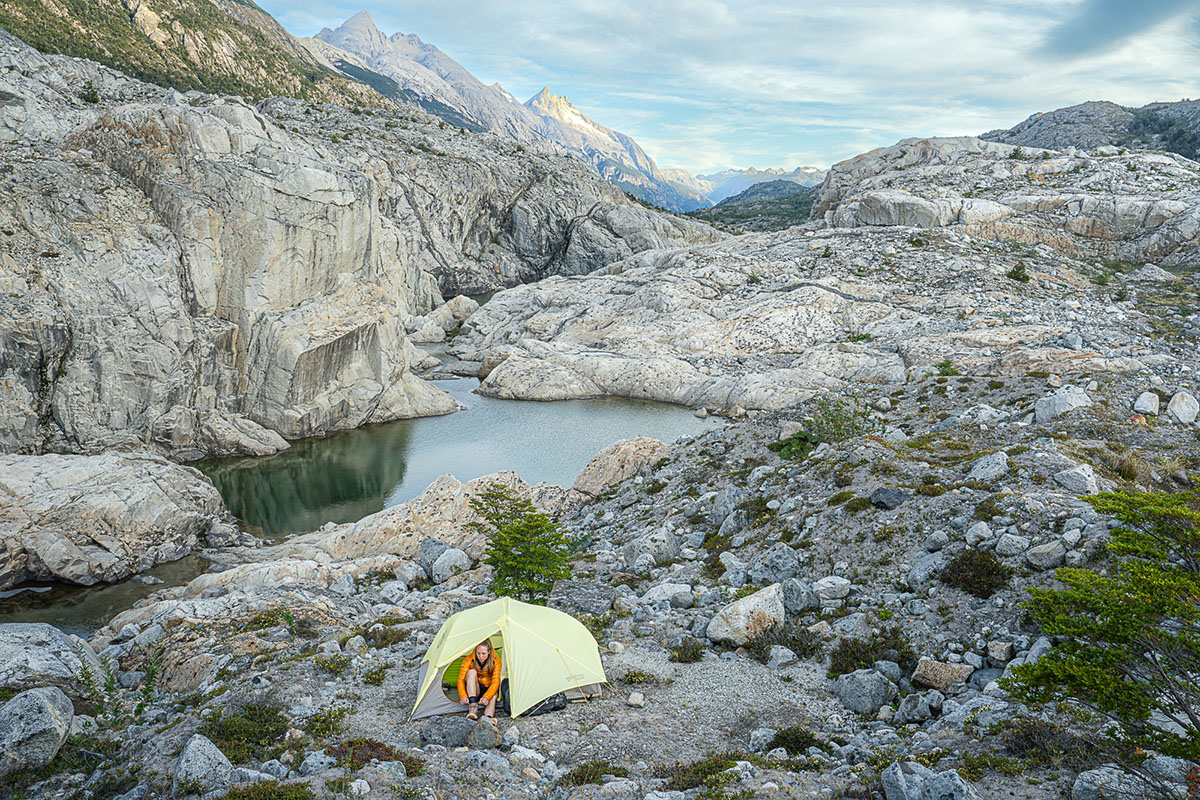
Next up is thinking through the types of trips you’ll be undertaking. Starting with casual backpacking, these adventures typically involve covering shorter distances on overnight or weekend trips on well-trodden trail networks. Features to look for here include a reasonable price point, simple setup and take-down process, durable materials, and good all-around livability. As the trips get longer and more ambitious, factors like weight and packed size climb to the top of the priority list (more on those considerations below). And at the extreme end are long-distance backpackers or thru-hikers that have a lot of experience with the products and are willing to compromise comfort and durability for an ultra-streamlined and lightweight design. Whichever type of trip you do, try to match tent design to your backpacking style. Cheaper tents are great for casual outings, while specialized ultralight models may be overkill for a lot of people and situations.
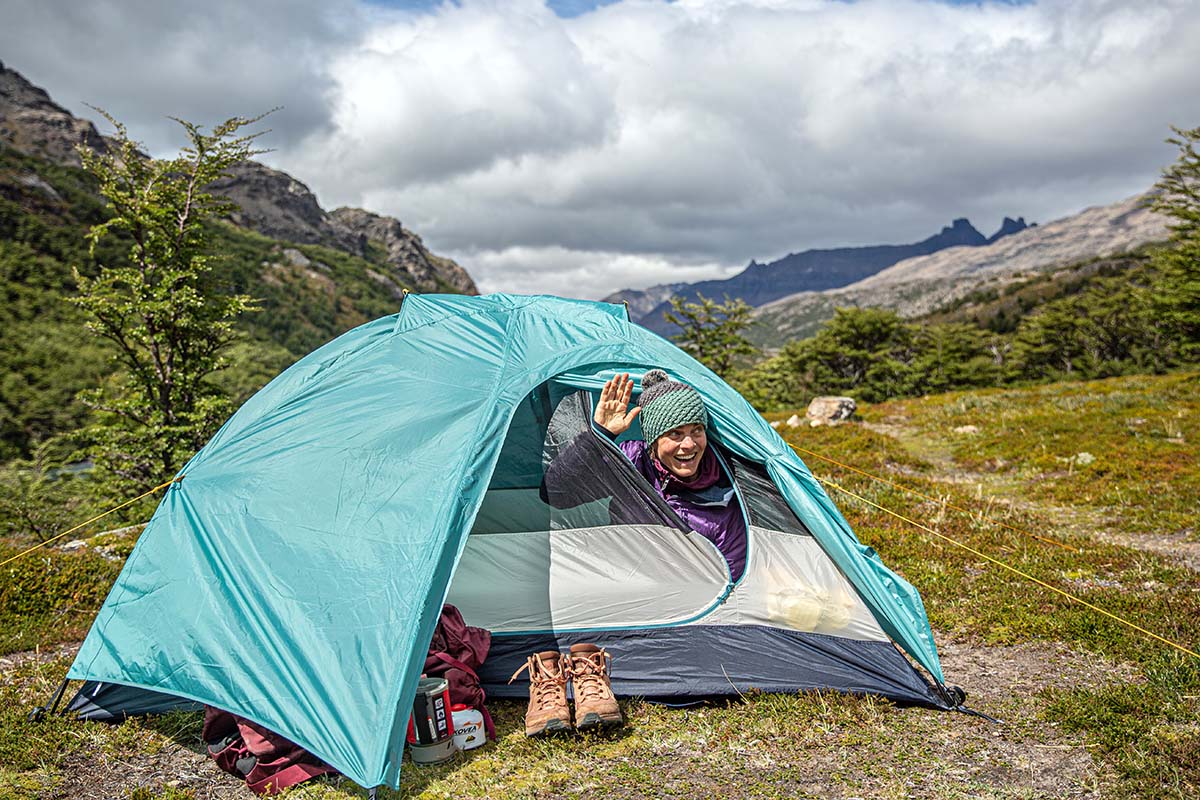
To some backpackers, weight is one of the most important considerations in choosing a tent. Here’s what you need to know: Most budget-oriented tents use cheaper materials that are heavier, and these models often weigh 4 to 5 pounds for the two-person versions. For example, the entry-level REI Co-op Trail Hut 2 has a packaged weight of 5 pounds 15 ounces (note: That number includes a 7-oz. footprint, which many will opt to leave behind). Going lighter, the popular MSR Hubba Hubba 2 uses thinner materials and weighs 3 pounds 4 ounces all in. And if you truly want to go ultralight, a number of tent models dip down closer to the 2-pound mark or even lower, including Zpacks' popular Duplex Zip.
However, lighter-weight tents do come with a number of compromises. Generally, as weight goes down, price goes up, durability starts to suffer, interior space decreases, features are trimmed away, and setup becomes more complicated. The right choice should be based on your budget and how you intend to use your tent. If you're a beginner or weekend backpacker who isn’t covering super long distances, models like the aforementioned Trail Hut 2 or REI's Half Dome (4 lb. 11.5 oz.) are a great way save, and the weight can easily be divided between two backpackers (tent body and rainfly in one person's pack, poles and stakes in the other). If you backpack frequently, are covering long distances, or are thru-hiking, every ounce counts, and the extra investment can be worth it. For a deeper dive into the topic, check out our article: Backpacking Tents: How Light is Too Light?
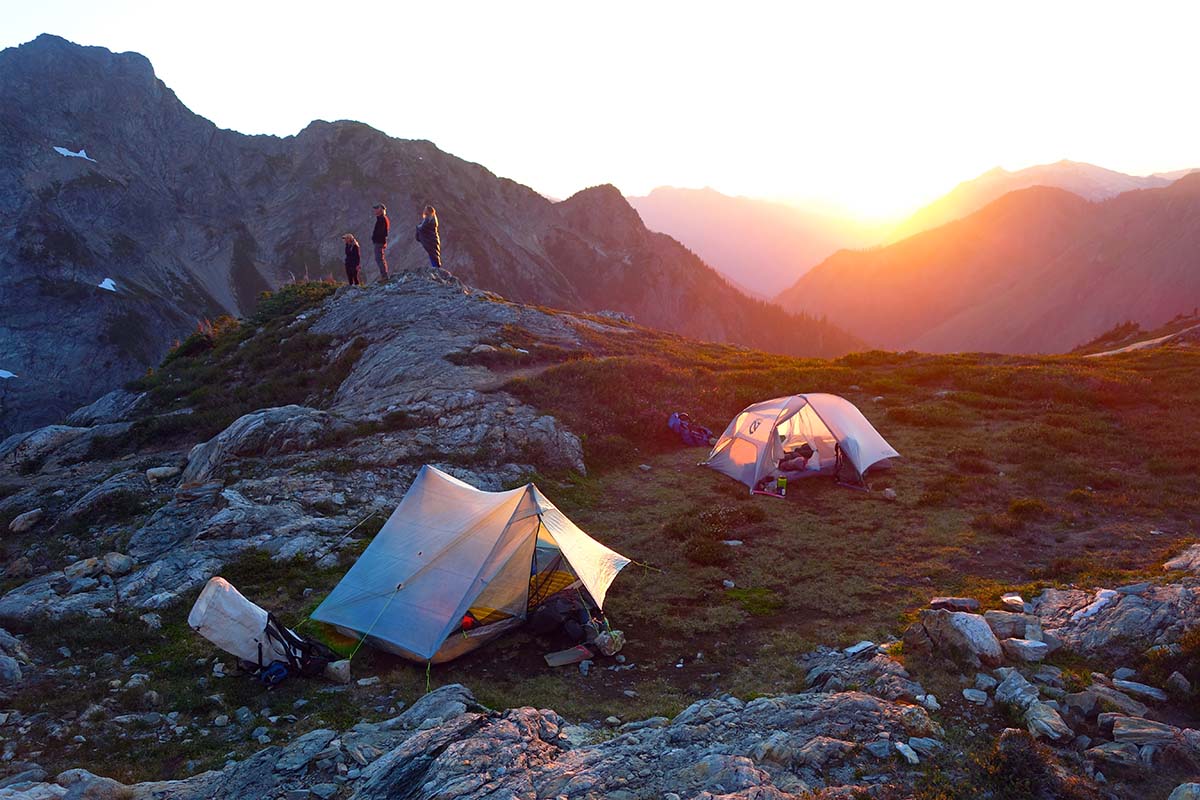
Backpacking tent prices range widely—from around $200 for a budget model from a respected brand to $800 or more for a targeted UL design—so it’s worth examining what you get by spending up. Starting on the low end, one of our favorite budget designs is REI Co-op’s Trail Hut 2, which costs $229. The REI gets you an all-in weight of about 6 pounds, durable yet bulky materials that don’t pack down as small as other tents, decent interior space, and a very easy setup and take-down process. Spending more will net you higher-end fabrics that drop overall weight substantially. Take the $530 Big Agnes Copper Spur HV UL2 as an example: It's similarly spacious inside as the Trail Hut but weighs significantly less at 3 pounds 2 ounces. The ~$300 difference in price between the two tents is nothing to scoff at, but the reality is that the performance benefits make it worth it for those who get out a lot. And as prices clear about $600, you’ll typically see one of two styles: ultralight builds that feature premium materials like Dyneema (Zpacks’ $699 Duplex) or tents that excel in particularly harsh conditions (Hilleberg’s $945 Nallo).
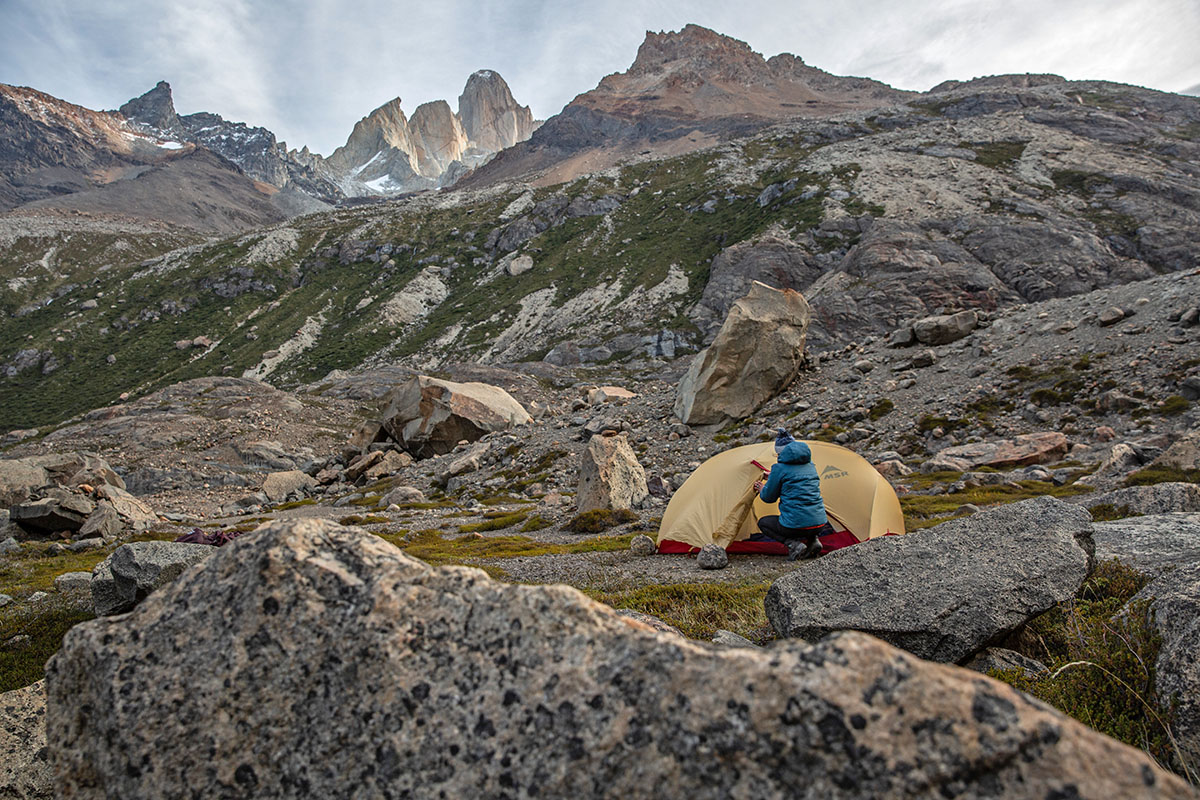
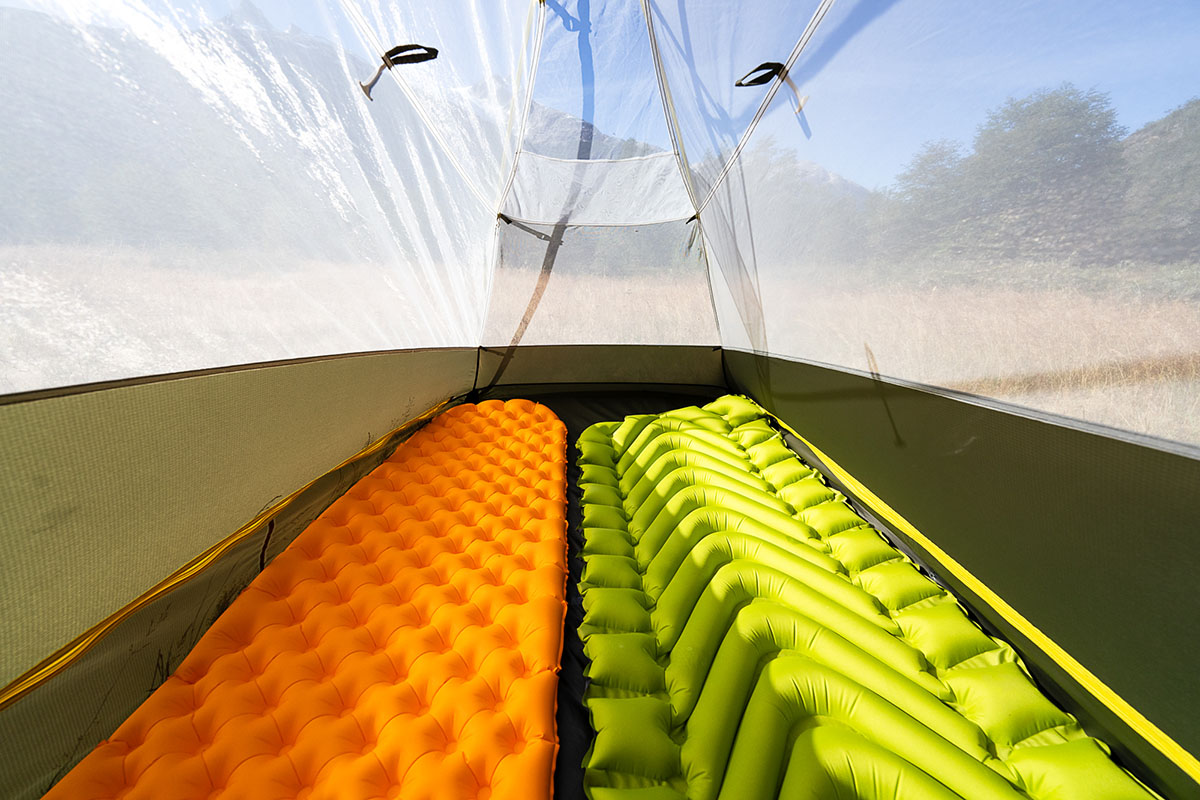
For the most part, backpacking tents are offered in capacities ranging from one to four people. Two-person models are the most popular, and these are designed to fit two standard-width sleeping pads (20 in. each) side by side. Opting for a one-person tent is a nice way to save weight, although many solo backpackers still decide to size up to a two-person model as it allows for some extra space inside (plus, you have the versatility to bring a partner on trips). Three-person tents are a nice solution for small families, couples backpacking with a dog, or for those who like to keep more of their gear inside. Finally, four-person tents are the least common as they're fairly heavy and bulky, but they can be a suitable option for families venturing into the backcountry (remember, you can always split the weight between multiple people).
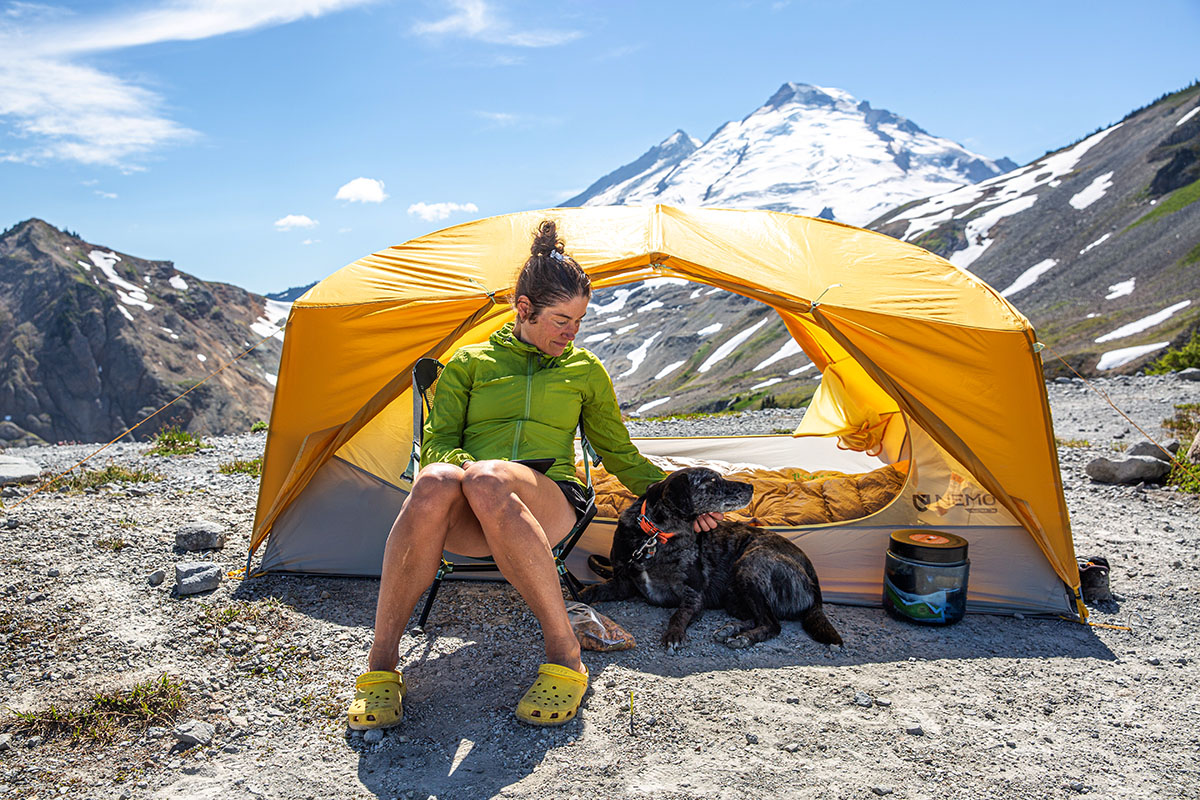
Knowing the capacity of a tent gives you a decent idea about its interior space, but better understanding its livability requires a few more elements. First off is floor dimensions (length by width), which the vast majority of manufacturers provide and give a good idea on whether or not you can fit things like a wide pad or extra-long sleeping bag. Next up, the peak height represents the highest point inside the tent—often right in the middle—and this can be helpful for determining whether or not you can sit upright comfortably. Finally, take a look at the overall shape. Are the tent walls fairly vertical or heavily tapered? Is the floor rectangular or narrower at the feet than at the head end? Both are classic weight-saving techniques that make a tent feel more cramped on this inside. Looking at all of these pieces of information will get you a good idea on the true interior volume of a given design.
While certainly not the most exciting feature, the number of doors on a tent is an important consideration, especially for those backpacking with a partner. For trips with two people or more, having a door on both sides of the tent is a worthwhile luxury. Not only do you get extra storage space (more on this below), but having your own door makes it far easier to get in and out at night. Single doors do save a little weight, but in most instances, we don’t think the trade-off in reduced storage and all-around convenience is worth it (again, solo backpackers are an exception here). It’s worth noting that the location of the door also is important: Single doors at the head end of the tent like on Big Agnes’ Fly Creek HV UL2 don’t require as many gymnastics to access compared with models with one side door like Kelty’s Late Start 2.
.jpg)
Weather can be unpredictable in the wilderness even in the middle of summer, but the good news is that just about every backpacking tent made can hold up in a light summer storm. Shared features among the vast majority of designs are coated and waterproof rainflies, raised bathtub-style floors, and seam taping (full or partial) to reduce the chance of moisture making its way through. Pricier models generally are more weather-resistant than budget options as their materials are sturdier and will hold up longer (one notable exception is some ultralight designs that sacrifice weather protection for reduced weight). And if you expect to see some decent rainfall and wind, look for a tent with a rainfly that comes all the way to the ground for maximum coverage and guy-out points along the exterior for attaching cord to increase strength in high winds.
.jpg)
Nearly as important as weather protection is a tent’s ability to ventilate. Everything from muggy and hot weather to breathing overnight in cold temperatures can create a surprising amount of moisture buildup along the tent walls. To combat this, tent makers utilize a double-wall construction, which encourages airflow by separating the tent body and rainfly. In addition, you’ll see large swaths of breathable mesh along the upper portion of many quality designs. Finally, be on the lookout for deployable vents in the rainfly that can be opened to create a chimney-like effect to get air moving (you can also close them if the weather turns).
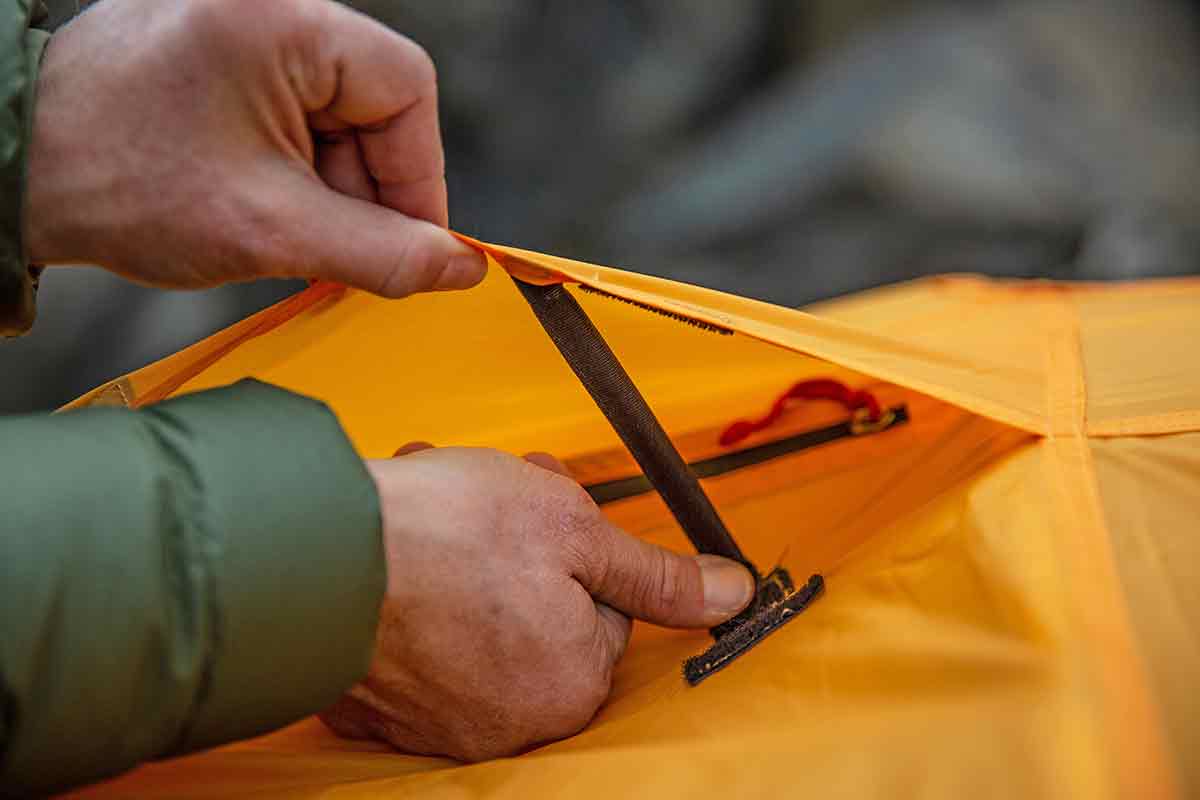
A general rule to have in mind is that as a tent’s weight goes down, durability will decrease. For the materials on the tent body and rainfly, most manufacturers provide the denier (often abbreviated to just “D"), which is a measurement of fabric thickness (the higher the number, the thicker it is). It’s a good idea to check the listed denier on all parts of the tent, but the floor is the area we focus on as it’s the most vulnerable to punctures, rips, and wear over time. Floor denier can vary widely, from a substantial 68D on the Marmot Tungsten to an extremely thin 10D on on Gossamer Gear's The Two. And many popular lightweight models split the difference, including the MSR Hubba Hubba 2 (20D) and Big Agnes Copper Spur HV UL2 (15D x 20D).
In deciding on the right level of durability for you, it’s best to go back to your intended use. If you’re going to stick to the casual side of things, carrying a little extra weight for the increased toughness may be worth it. On the other hand, traveling fast and light means the trade-off in durability is something you’re willing to manage. A good portion of backpackers—both beginners and experienced adventurers—land somewhere in the middle, which is why the aforementioned Hubba Hubba, Copper Spur, and Nemo's Dagger Osmo 2P (which doesn't provide a denier spec but feels similarly hardwearing) are among the most common tents we see out on the trail. They are decently light yet should be able to stand up to multiple seasons of backpacking abuse.
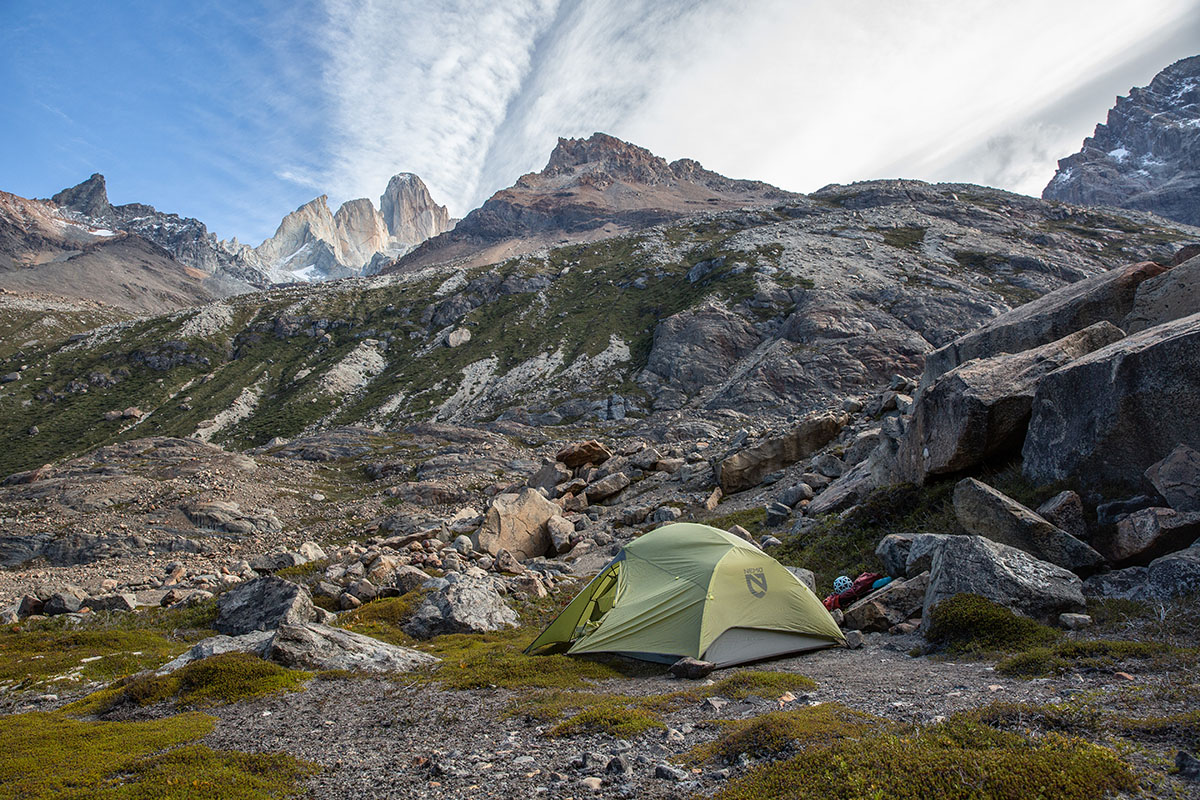
Even those traveling light will be hauling a fair amount of gear into the backcountry, so storage plays a sneaky-important role in tent selection. First, vestibules are the section of the rainfly that cover the doors, and they provide a sheltered space for your pack or hiking boots overnight and in inclement weather. As we touched on above, having two doors and vestibules is a nice feature for multiple backpackers as it limits clutter and allows easier access to your gear from the inside of the tent. Manufacturers and retailers also provide the overall vestibule area (in square feet), which is a nice point of reference for comparing tents. And finally, take a look at what the tents are offering in terms of interior pockets. At a minimum, it’s nice to have a couple pockets along the roof or sidewalls to store items you want close at hand like a headlamp.
.jpg)
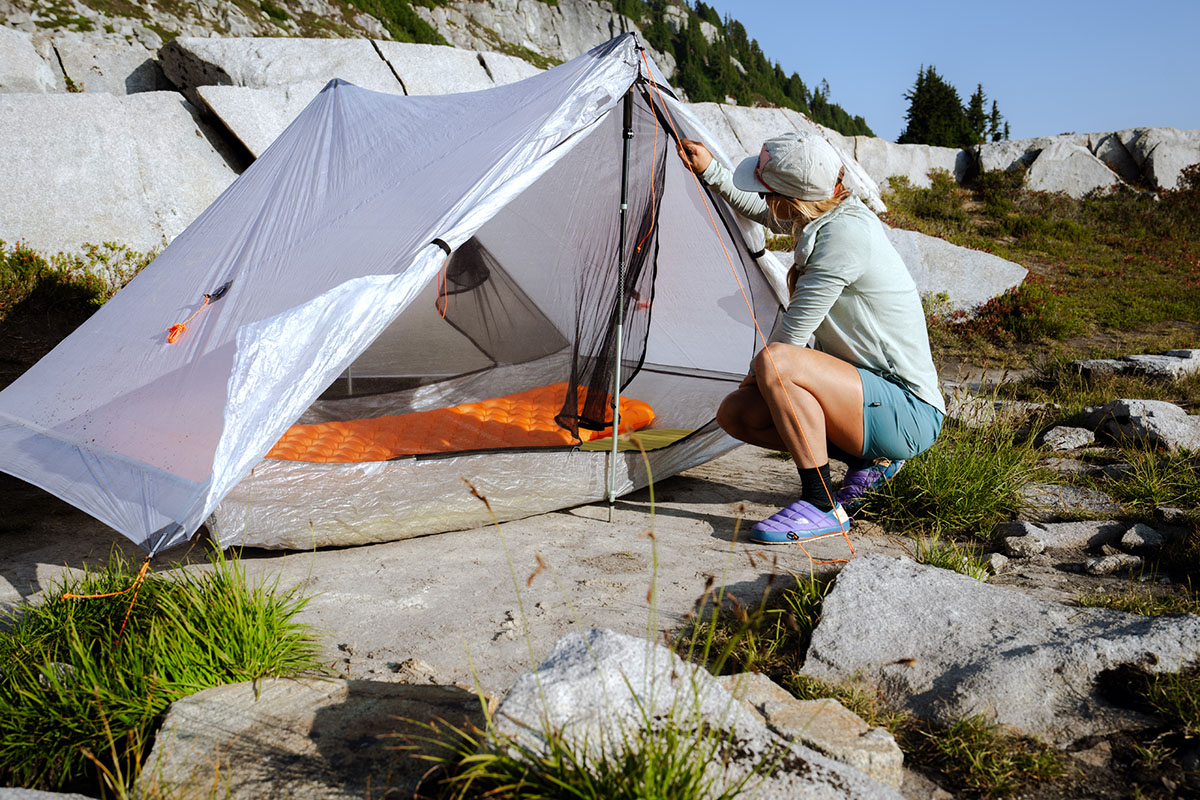
If you’re eyeing ultralight or lightweight tents, there’s a good chance you’ve run across both freestanding and non-freestanding options. Freestanding means that by connecting the poles, the tent body can stand upright, while non-freestanding tents require you to stake out the corners to give it structure and not flop around. In general, freestanding tents are easier to use and set up (especially in areas where it’s hard to use stakes, such as on rock), which makes them appealing for many backpackers. Serious ULers, however, often prefer non-freestanding tents as they weigh less due to having fewer pole sections (or none at all). And a final note here: Some tents are considered “semi-freestanding,” as they can stand on their own but must be guyed out in order to maximize the floor area (these tents usually have poles that connect in the corners on one end but not the other). For more information on this topic, check out our article on freestanding vs. non-freestanding tents.
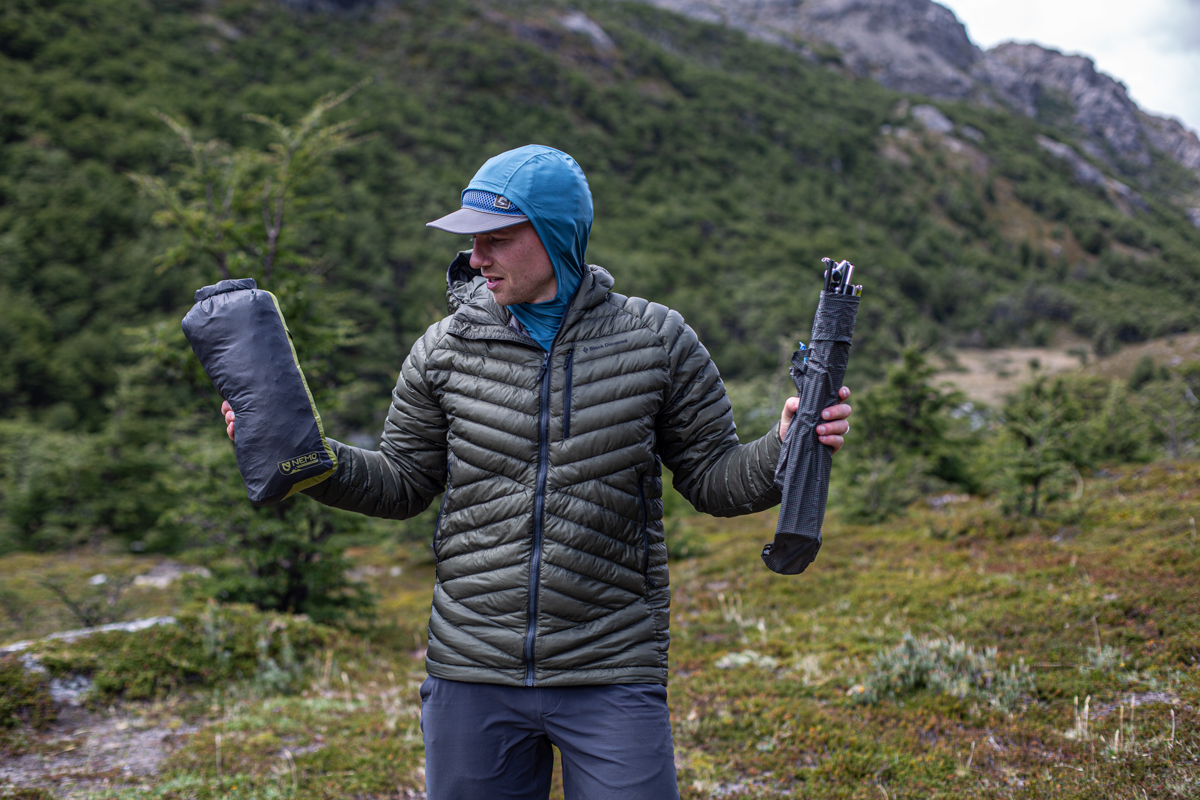
In most cases, tent weight and packed size go hand-in-hand. Tents typically come with a top-loading-style bag that is shaped like an oversized burrito. Thinner tent fabrics and poles logically are smaller and more compressible, which makes lightweight designs easy to slip into a backpacking pack. At the other end of the spectrum, budget tents that have thicker fabrics and poles with substantially larger circumferences can be challenging to stuff in a full pack. If you're concerned about space, one thing to keep in mind is that you can divvy up carrying duties with a partner or store the poles and stakes separately from the tent body and fly. Doing this frees quite a bit of room and also makes it easier to pack away the tent in the morning. Because of the flexibility in how they can be stored and carried, the measured packed size of a tent is rarely one of our top considerations.
One of the final decisions in choosing a tent is whether or not to add a footprint. The majority of manufacturers offer a corresponding ground cloth as a way to boost the durability and longevity of a tent’s floor, and they usually cost between $40 and $80 (alternatively, you can save a lot by making your own out of fabrics like Tyvek or Polycro). Whether or not you truly need a footprint is a fairly detailed topic (for a thorough explanation, see our article on footprints here), but we’ll cover a few key factors. Tents with tough, high-denier floors are less likely to require extra protection than those using thin materials, and we rarely opt for a footprint with these models. In addition, bringing along a footprint adds weight to your pack, so those trying to cut ounces will be inclined to leave one at home. Finally, consider where you’ll be setting up camp. If it’s on rough ground like granite, you may want to carry a footprint.
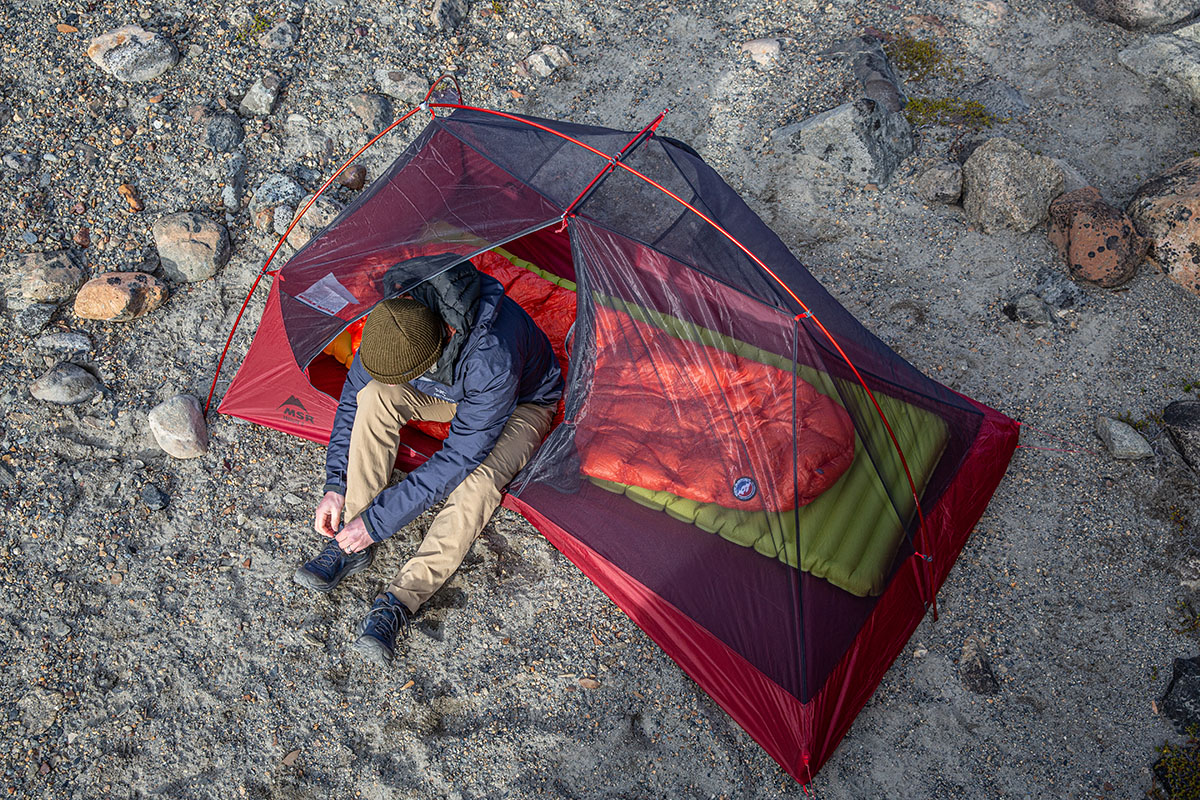
Now we get to the fun part: selecting the perfect backpacking tent for you. Since a final decision will largely come down to your intended use(s), our picks below cover everything from budget-friendly designs for those just starting out to specialized ultralight models for experienced ounce-counters and thru-hikers. For a wider look at the market, including detailed buying advice to help you choose the right setup for your needs, see our full articles on the best backpacking tents, best budget backpacking tents, and best ultralight tents.
Best overall: Big Agnes Copper Spur HV UL2
Best budget: REI Co-op Trail Hut 2
Best combination of price and performance: REI Co-op Half Dome SL 2+
Best ultralight: Zpacks Duplex Zip
Best all-season: MSR Access 2
Best overall: REI Co-op Trail Hut 2
A premium tent for under $350: REI Co-op Half Dome SL 2+
Best for families: Kelty Grand Mesa 4
Best ultralight: Durston X-Mid 2
Best overall: Nemo Hornet Elite Osmo 2P
Best budget: Durston X-Mid 2
Best DCF trekking-pole shelter for thru-hiking: Zpacks Duplex Zip
Best 4-season: Samaya 2.0
Best floorless pyramid shelter: Mountain Laurel Designs DuoMid
Back to Our Backpacking Tent Guide See Our List of Best Backpacking Tents