Photo Credit
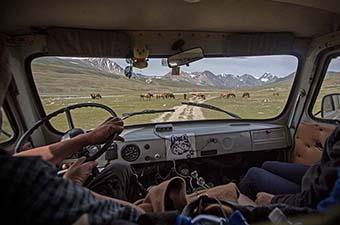
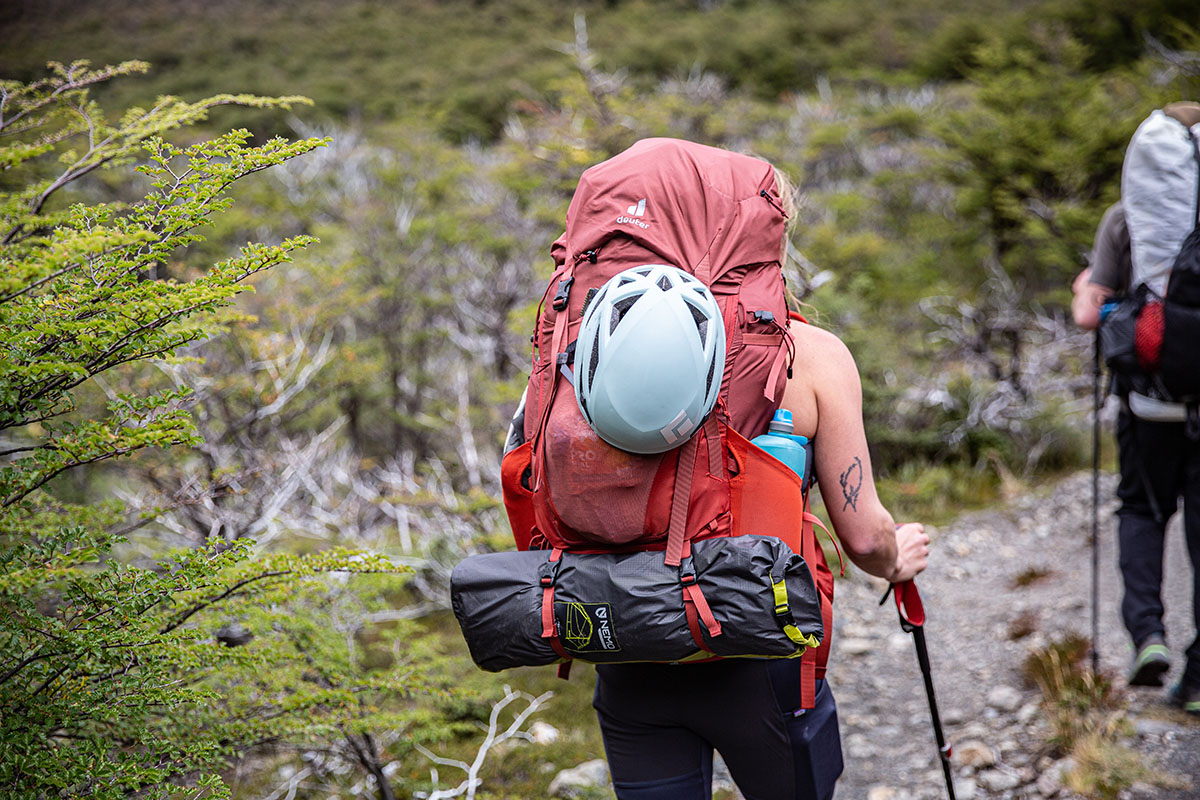
If you’re in the market for a backpacking tent, you’ll probably notice that designs are categorized as “freestanding” or “non-freestanding.” But what do these designations mean, and how do you know which style is right for your objective? Below we define both setup types and break down their major differences, including weather protection, ventilation, weight, interior space, and more. Rest assured, we've carried and pitched tents on backpacking trips all over the world—from remote areas of Patagonia to sandstone canyons in Utah and lush forests in the Pacific Northwest. For a look at all our top picks, see our articles on the best backpacking tents, best ultralight tents, and best budget backpacking tents.
Editor's note: We updated this article on August 2, 2024, to ensure all information was current at the time of publishing, which involved revising several product references and incorporating newer photos from testing.
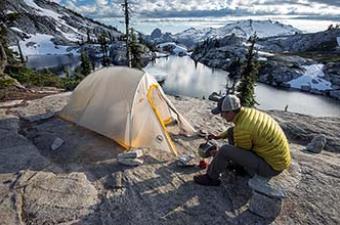
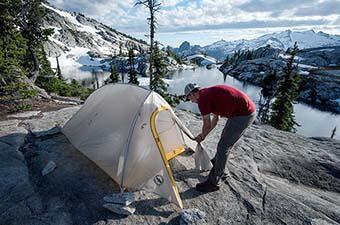
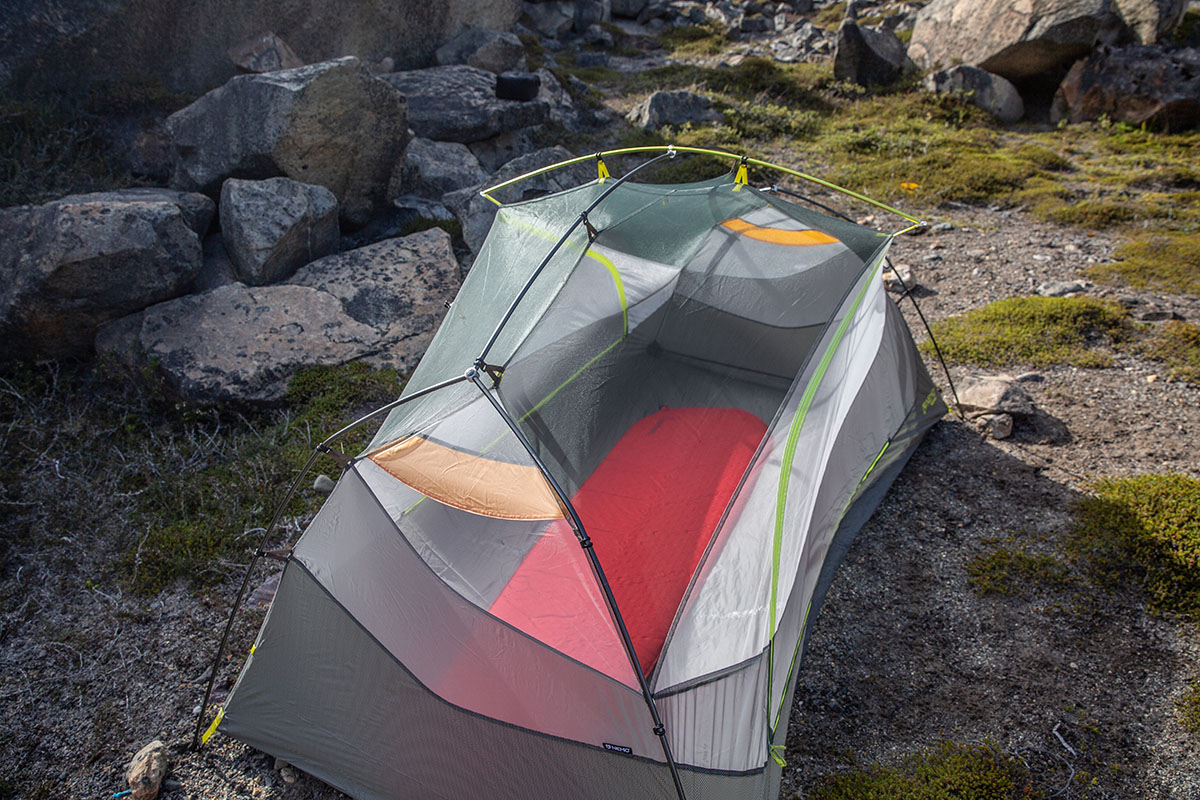
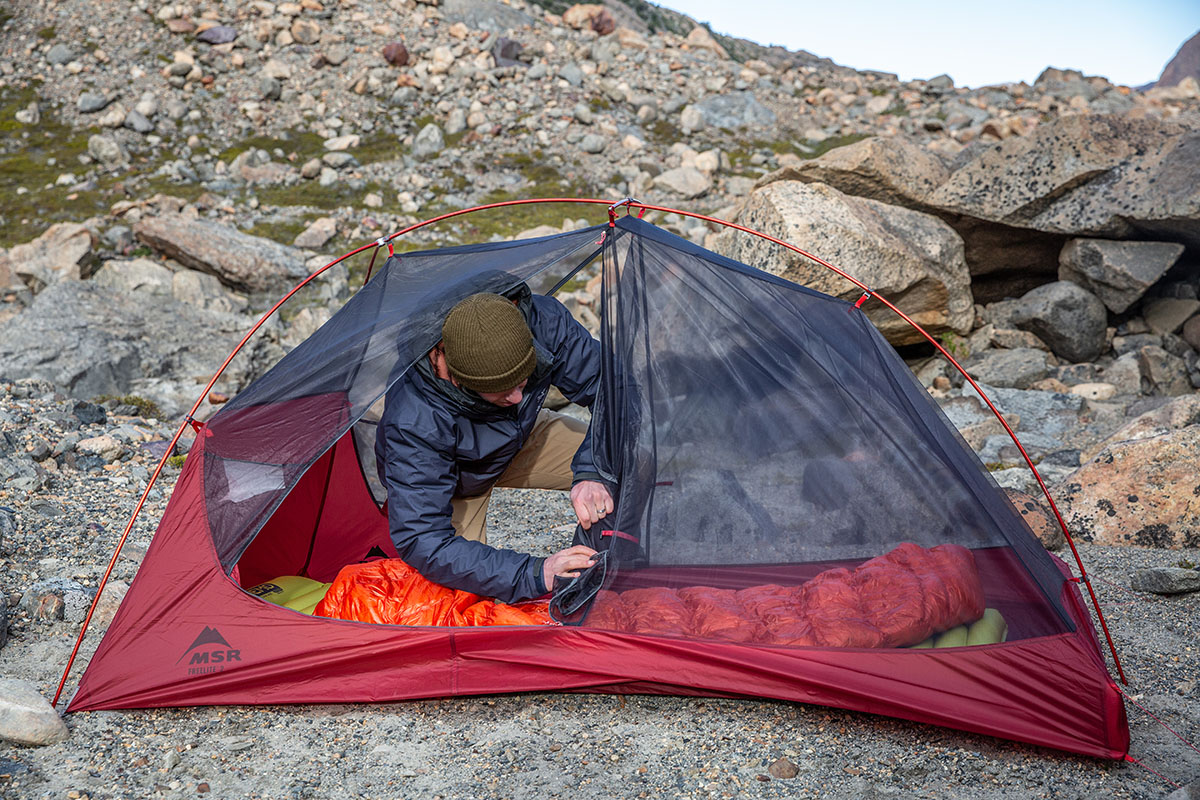
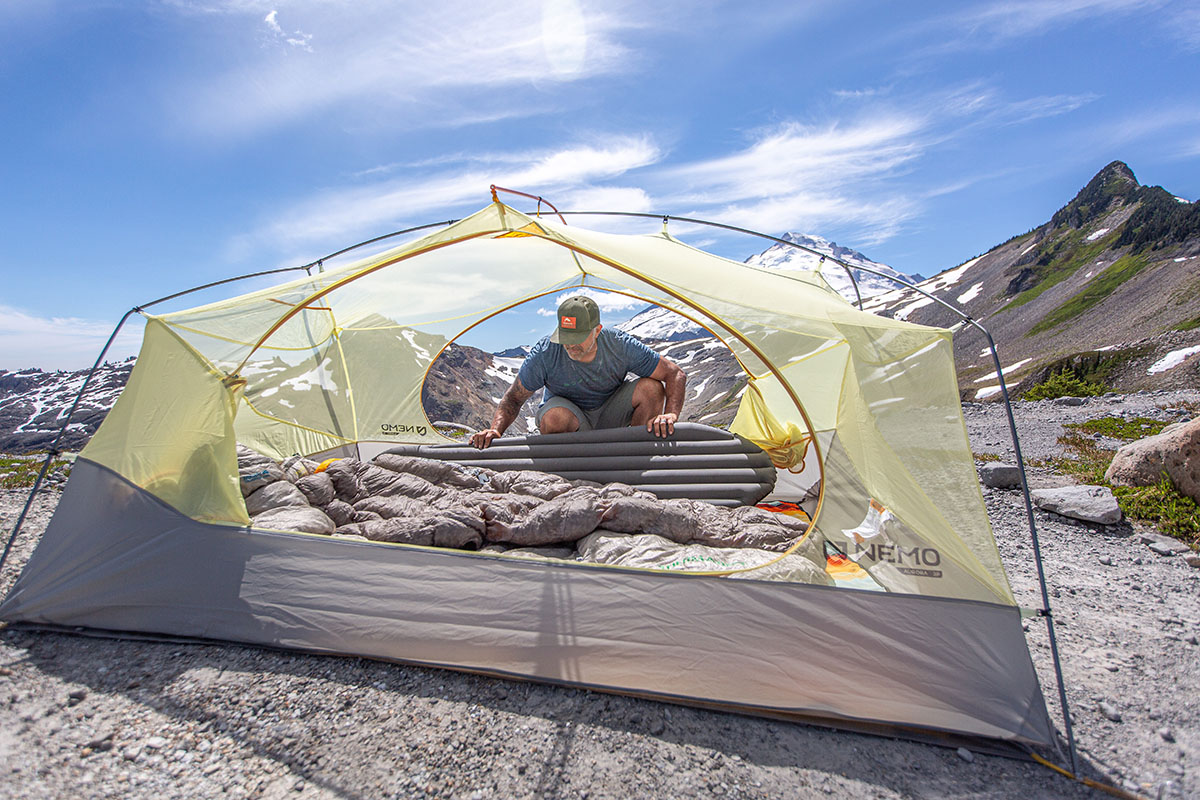
Freestanding tents function just as their name implies: The tent bodies can hold their shape on their own without needing to be staked out. These designs receive their support from included tent poles and can be picked up and moved around camp without going limp. Freestanding tents, like the popular Big Agnes Copper Spur HV UL2, typically come with a separate rainfly (meaning they’re double-walled), but some models feature a waterproof, single-wall design. In general, freestanding builds are the most popular style among campers and traditional backpackers due to their easy setup, impressive weather protection, and superior comfort and livability.
That said, it’s important to note that while freestanding tents don’t need to be staked out to hold their shape, stakes are always a good idea. Why? In short, a tent should always be staked taut (or somehow anchored down) to maximize the floor plan and ensure the best protection from wind and rain. Further, most rainflies must be staked out in order to create vestibule space for your gear and sufficiently shed moisture.
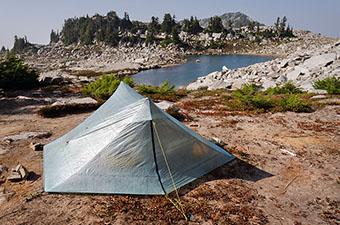
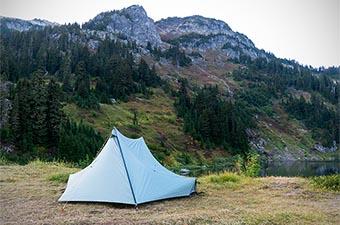
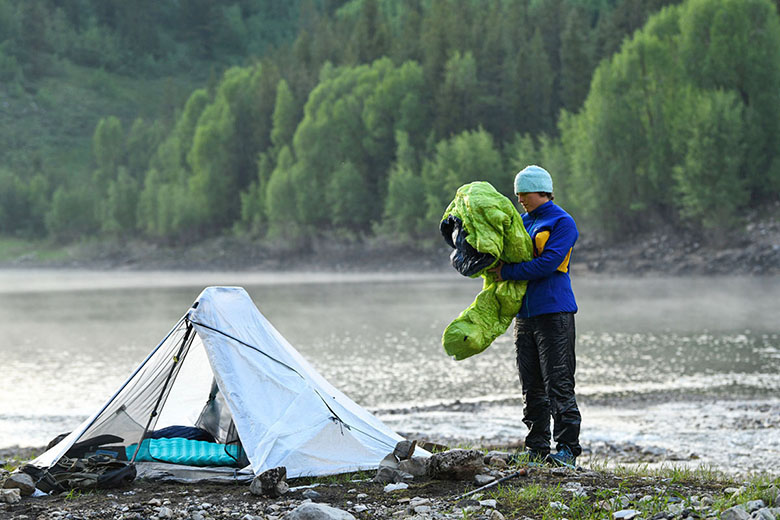
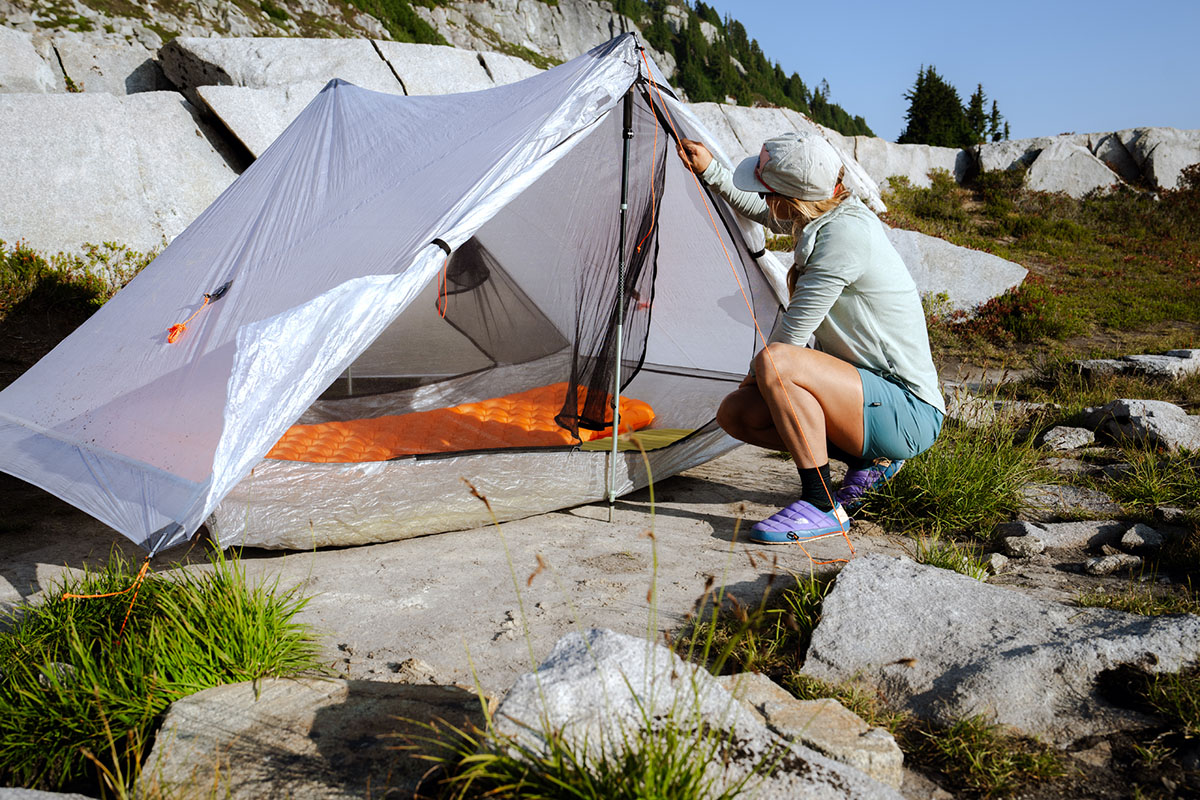
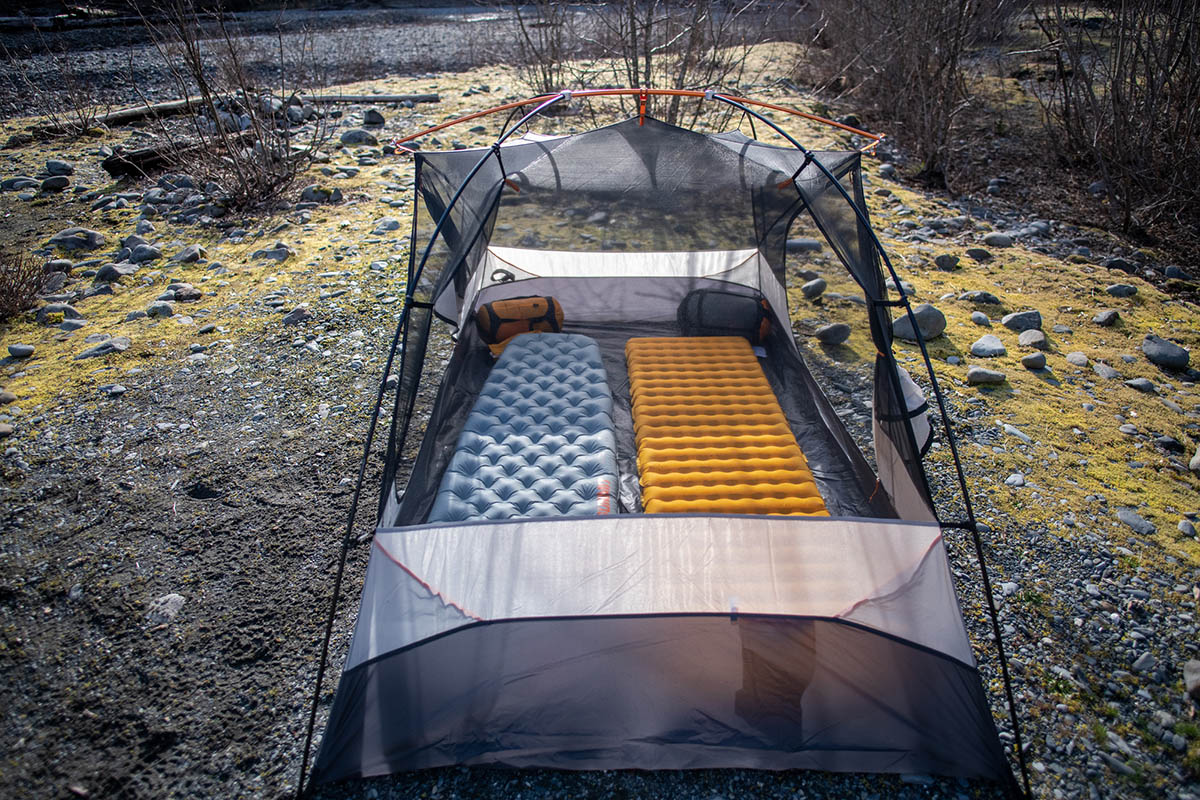
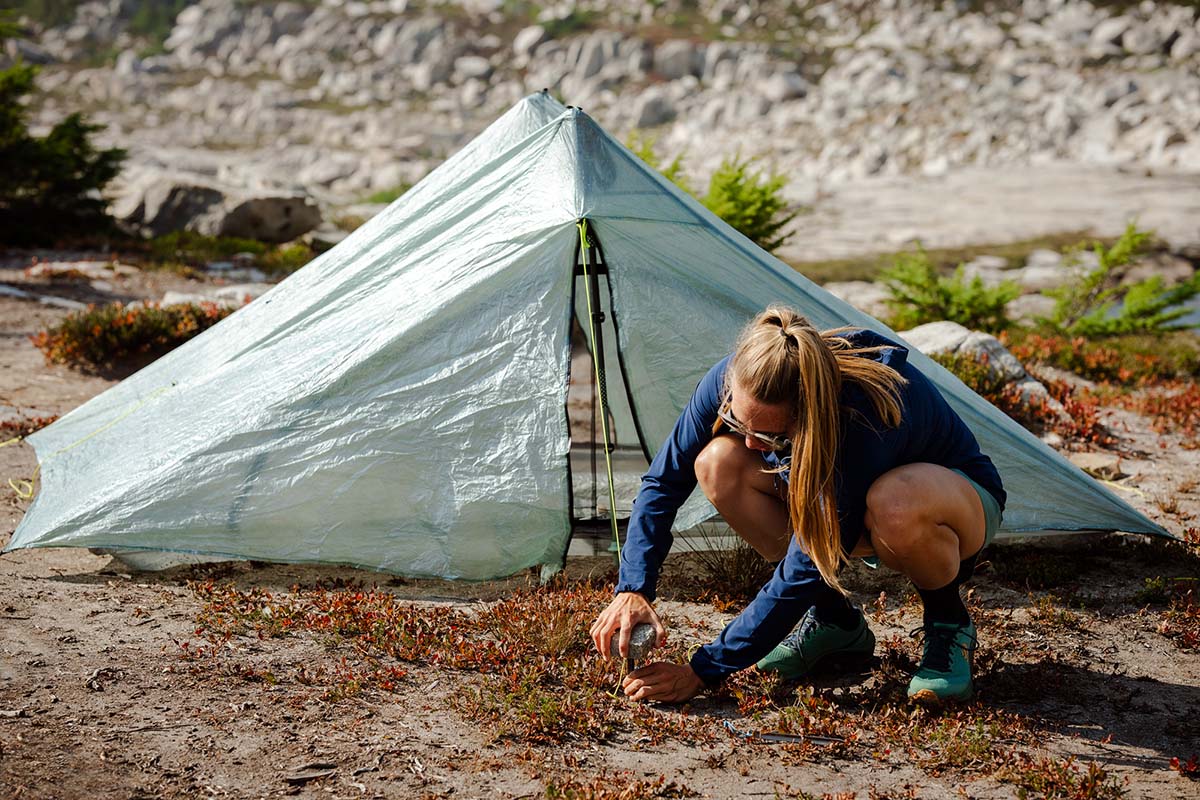
Unlike freestanding models, non-freestanding tents require staking out to keep their shape. To set up, non-freestanding tents are first staked out and then typically propped up with trekking poles (some, like the Tarptent Double Rainbow, use a single tent pole instead). They are most often single-wall designs that prioritize a low weight and packed size over comfort, convenience, and livable space. Because of this, non-freestanding models are very popular among experienced backcountry-goers and the ultralight crowd.
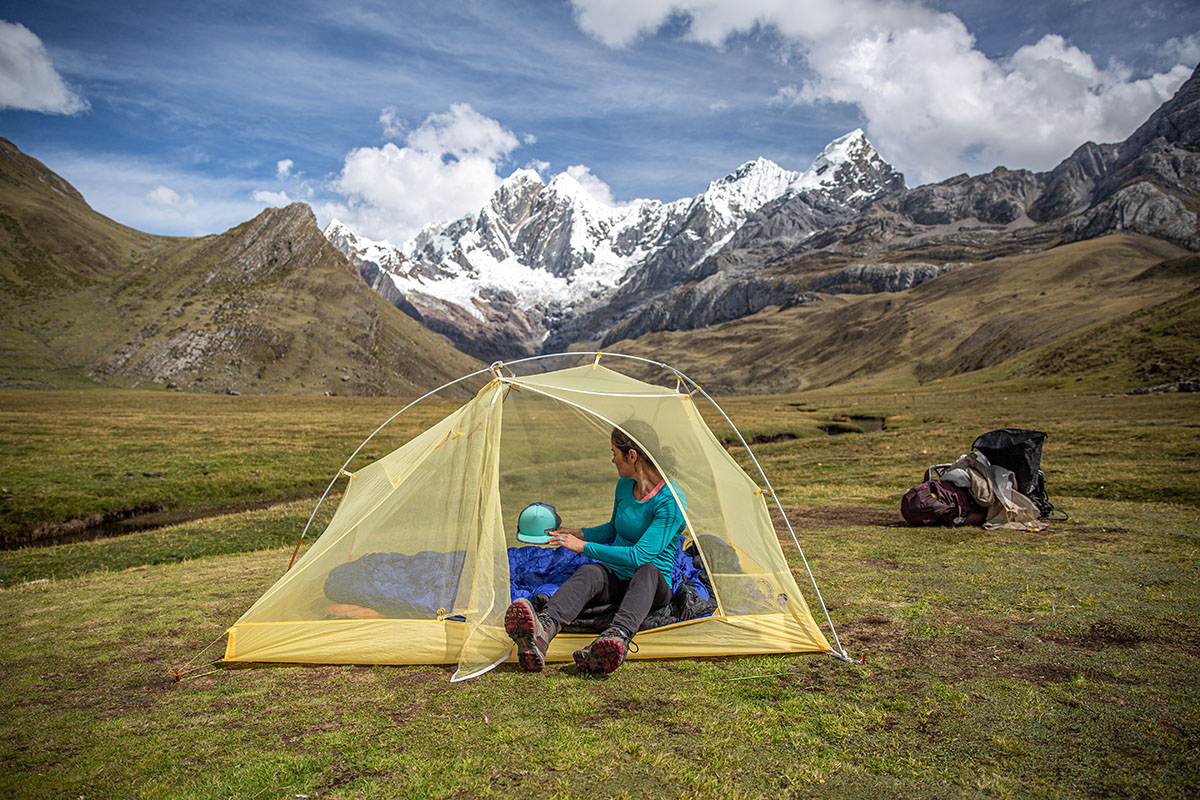
Semi-freestanding tents aren't as common as true freestanding and non-freestanding structures, but we’d be remiss not to mention them here. These models, like the Big Agnes Tiger Wall UL2, have an included pole structure that keeps them upright, but part of the body still needs to be staked out in order for the tent to reach its full size and create a rigid frame all around. Because they come with poles, manufacturers and retailers will sometimes lump semi-freestanding tents in with freestanding designs, and we do the same below. However, the distinction is an important one: These hybrid models can be an effective middle ground, balancing the headroom and weather protection of freestanding tents with the low weight and smaller packed size of non-freestanding shelters.
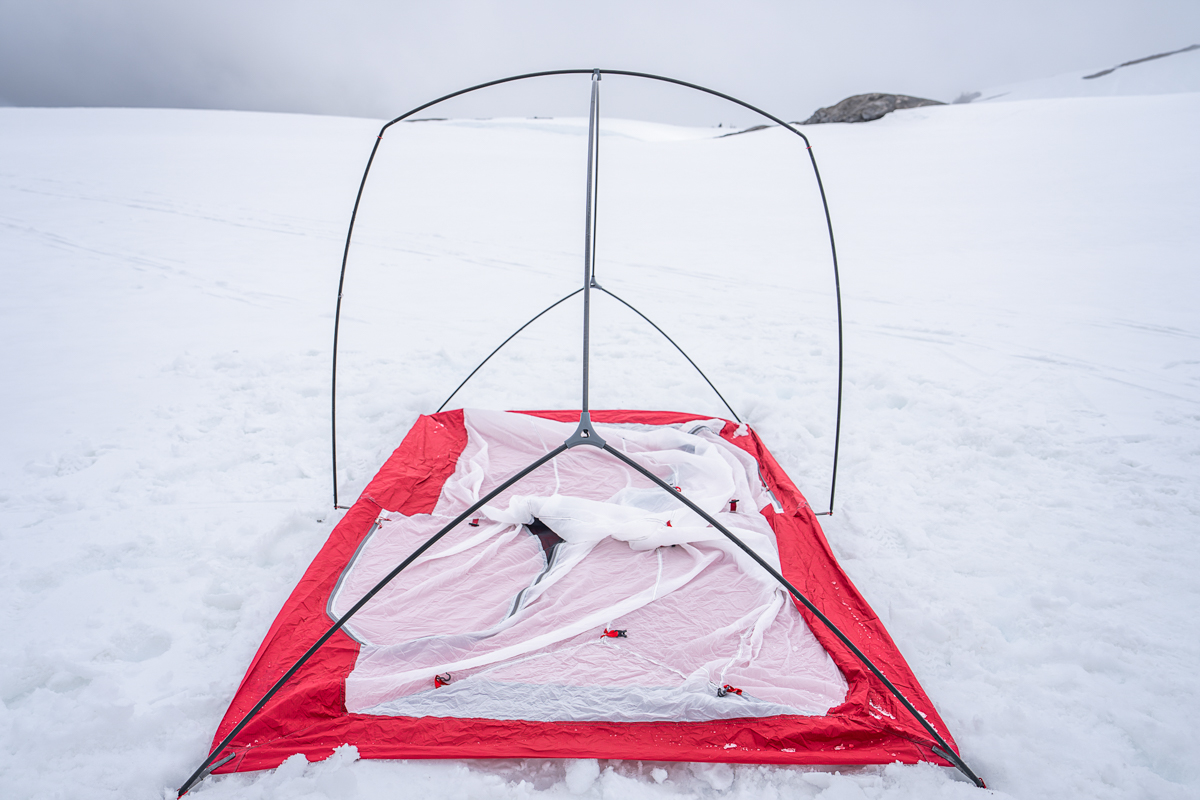
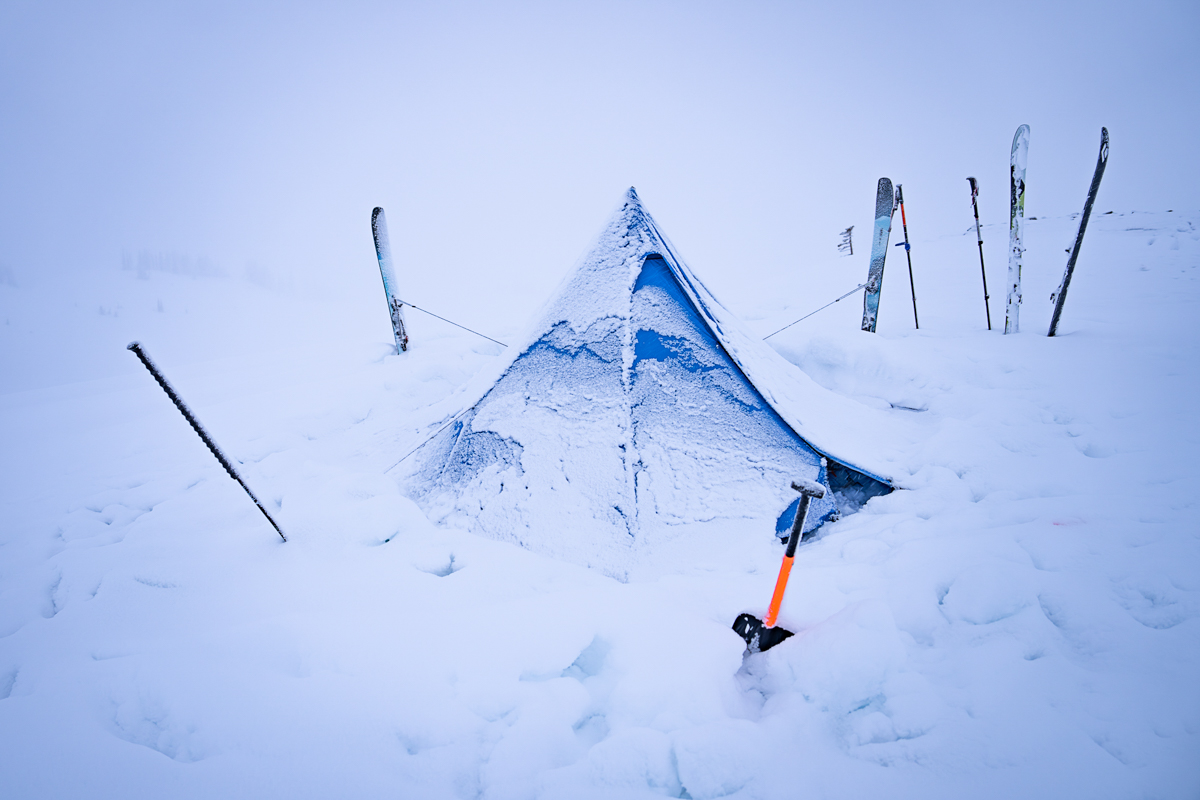
Freestanding tents get the edge when it comes to weather protection for two main reasons. First, in windy weather, a tent with a dedicated pole structure that’s not dependent on stakes is slightly stronger than a tent propped up with tensioned trekking poles. While non-freestanding tents generally are very impressive in their ability to withstand heavy winds, there’s simply more that can go wrong in strong gusts: A stake could come out, a guyline could break, or a pole could lose tension and collapse.
The second consideration is that freestanding tents are traditionally double-wall designs, whereas non-freestanding tents are most often single-walled. This means that with a freestanding tent, you get one extra layer of separation between you and the elements—imagine the difference between wearing a rain jacket against bare skin versus with a baselayer underneath. However, it’s important to note that not all freestanding tents are double-walled—the Black Diamond Firstlight is a notable exception. Similarly, there are some non-freestanding tents with double-wall constructions, such as the Tarptent StratoSpire Li. But in general, this rule holds true for most of the market.
The single- and double-wall distinction also is key when it comes to ventilation. Double-wall designs vent much better than single-wall tents—the inner tent body is made of breathable fabric that allows condensation to escape. On the other hand, the one piece of fabric in a single-wall tent is tasked with being both breathable and waterproof, which is a tall order. And keep in mind that ultralight Dyneema (popular in models like the Zpacks Duplex Zip) is especially lacking in breathability. Because most freestanding tents are double-walled and most non-freestanding tents are single-walled, we give the ventilation advantage to freestanding tents. But as we touched on previously, it’s important to remember that there are exceptions to this rule.
Weight and packed size are one of the biggest differences between the two tent structures and the main reason backpackers might opt for a non-freestanding model. In short, with minimalist single-wall designs and often no included tent poles, non-freestanding tents generally are much lighter and more compact than their freestanding counterparts. For example, the aforementioned Zpacks Duplex Zip clocks in at 1 pound 6 ounces (with Zpacks' Carbon Fiber Stakes and using trekking poles for support) and packs down to 6 x 12 inches, while a relatively light freestanding option like the MSR Hubba Hubba 2 weighs 3 pounds 4 ounces and has a packed size of 4.5 x 19 inches. To be sure, freestanding tents quickly are closing the gap—consider the 1-pound-15.6-ounce Zpacks Free Zip 2P—but you can expect to sacrifice durability and pay a pretty penny for these targeted ultralight designs.
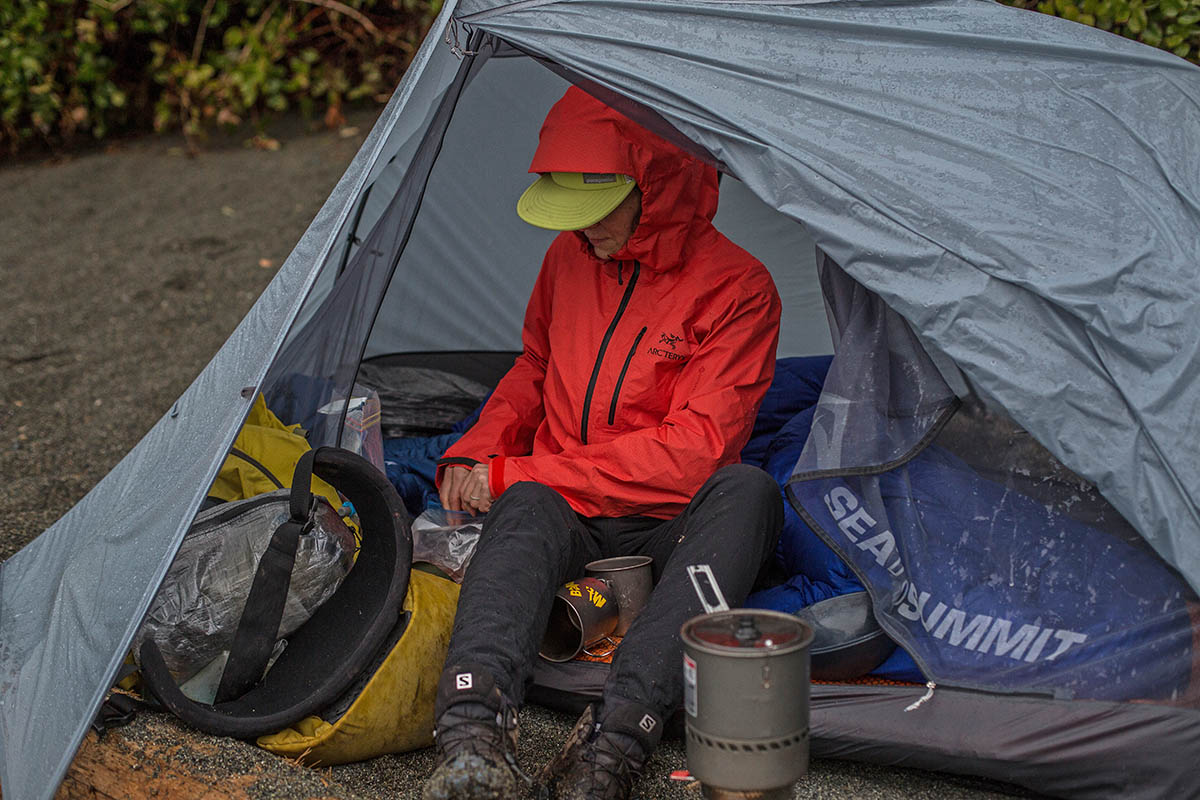
In general, freestanding tents get the edge in terms of livability, with steeper walls and increased headroom created by the structure of dedicated tent poles. On the other hand, the typical A frame-like shape of non-freestanding tents results in compromised livable space. Simply put, if we were tent-bound in a multi-day storm, we’d much rather be stuck in a freestanding design (like the spacious REI Co-op Half Dome SL 2+). In terms of the floor plan, freestanding tents usually have more of a comfort-first design, with larger overall dimensions and roomy vestibules (ultralight tents are an exception here). Further, these designs can fit anywhere from one to four people depending on size, whereas non-freestanding, trekking pole-supported shelters often max out at three.
In general, there’s little distinction between freestanding and non-freestanding tents when it comes to durability. Both types of structures can be made with rugged materials or fragile fabrics, and both have stress points that require careful handling. This topic becomes slightly more pertinent when we move into the ultralight world, where manufacturers skimp on fabric thickness in order to shave weight. For instance, in an attempt to match the weight of non-freestanding structures, freestanding tents like the Big Agnes Copper Spur Platinum use painfully thin materials (7-denier, or "D" for short) that require a great deal of care. Therefore, if you want an ultralight option but don’t want to compromise on durability, a non-freestanding tent will most likely be the longer-lasting choice.

Both freestanding and non-freestanding tents are made with and without vestibules, so a final decision will largely be based on preference. Vestibules range from around 7 square feet each (the semi-freestanding Nemo Hornet Elite Osmo 2P) to 10 square feet or more (the non-freestanding Gossamer Gear The Two and freestanding REI Half Dome SL 2+). Because vestibules vary so much in size, you’ll have to dig into the details and specs of each tent to determine how much outside storage it offers. This will most often be listed as “vestibule area” in square feet and/or meters.
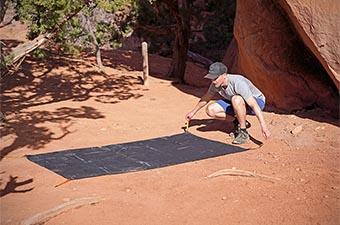
This one might seem straightforward, but there are a few intricacies between freestanding and non-freestanding tents when it comes to the setup process. The main benefit to freestanding tents is that they can be set up just about anywhere and then moved, whereas non-freestanding designs must be assembled and staked out at your intended site. In other words, you can pick up your freestanding tent and move it around (if, for instance, you didn’t choose your site wisely), shake it out, and even set it up without stakes or other anchors (which we don’t recommend unless it’s a very calm night). On the other hand, if you set up your non-freestanding tent and aren’t pleased with the location (or if you can’t get a good pitch on a rocky surface), you’ll have to take it down completely in order to move it and start the process all over again.
The second major distinction between the two styles is their ease of setup. Initially, a freestanding tent might feel easier to pitch, as there’s only one correct way to do so (and many modern designs, like REI Co-op's Half Dome SL 2+, make it incredibly simple with color-coded poles and/or corners). Setup for a non-freestanding tent has a steeper learning curve—you’ll have to dial in your trekking pole length and the tension of your guylines—and depending on the ground and anchors, it can be slightly different each time. But once you get to know your non-freestanding tent, it will go up more quickly: Simply stake out the corners and insert the trekking poles. And another big bonus: You can assemble a non-freestanding tent in the rain without risking getting the inside wet, unlike a double-wall freestanding tent where you’ll have to set up the body before putting on the fly.
For those who like to tweak their gear to fit each environment and climate, double-wall freestanding tents offer the most amount of customization. On warm nights, you might forgo the rainfly for more airflow (and a great view). If you’re traveling light, you can leave the tent body behind and employ the rainfly as a floorless shelter (this typically requires a matching footprint). On the other hand, the majority of non-freestanding tents have just one configuration, with few ways to strip weight or tailor ventilation. But as we mentioned above, keep in mind that this is not a blanket rule: The double-wall, trekking pole-supported Tarptent StratoSpire Li can be used without the fly, for example.
It’s tough to provide a like-for-like price comparison between freestanding and non-freestanding tents, as there’s a great deal of variation even within each category. However, all else being equal, expect lighter tents (both freestanding and non-freestanding) to be more expensive, due to the cost of lightweight materials (Dyneema fabric and carbon fiber poles being prime examples) and the quality of construction required to ensure durability. Additionally, spending up also often means packed size goes down, and in many cases, the advanced fabrics and pole designs stand up better to inclement weather. Our guide on the best budget backpacking tents has some more wallet-friendly freestanding and non-freestanding options.

We hope the information above has given you a better understanding of the types of tents available and helped you narrow down your search. To recap: Most backpackers will end up choosing a simple freestanding design, but non-freestanding tents do have their advantages (namely weight and packed size), and semi-freestanding tents are a final category to consider and often offer a nice compromise between the two.
If you’re still looking for exactly the right tent, here are our favorites in both the freestanding and non-freestanding categories. For even more of our top picks and detailed buying advice, check out our articles on the best backpacking tents, best ultralight tents, and best budget backpacking tents, all of which include freestanding, non-freestanding and semi-freestanding options.
Best overall freestanding: Big Agnes Copper Spur HV UL2
Best budget freestanding: REI Co-op Trail Hut 2
Best ultralight freestanding: Nemo Hornet Elite Osmo 2P
Best overall non-freestanding: Tarptent Double Rainbow
Best budget non-freestanding: Durston X-Mid 2
Best ultralight non-freestanding: Zpacks Duplex Zip
Back to Our Backpacking Tent Guide See Our List of Best Backpacking Tents